METHOD – The Windows Command prompt
Never underestimate the awesome power of the command prompt From the early days of the Windows Client\Server operating system, sys admins have been able to perform powerful and robust activities often overlooked.
To begin, lets look at the syntax of a basic command. (Like my Command prompt? check out my post on How To – Pimp my Prompt)
C:\TechnicalFellow.com>net user /?

The syntax of this command is:
NET USER
[username [password | *] [options]] [/DOMAIN]
username {password | *} /ADD [options] [/DOMAIN]
username [/DELETE] [/DOMAIN]
username [/TIMES:{times | ALL}]
username [/ACTIVE: {YES | NO}]
Not terribly exciting but there is a lot we can do here. Notice the /DOMAIN switch, we will touch on that a bit later. For now, lets run a local query.
C:\TechnicalFellow.com>net user
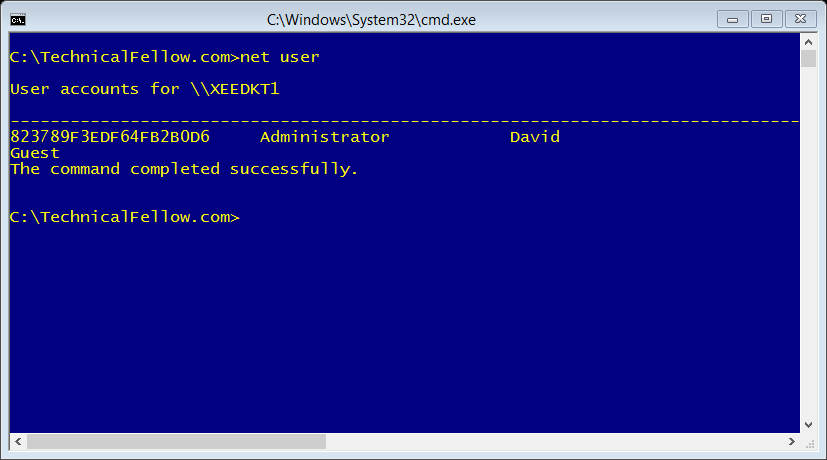
Alrighty, results. We basically have a list of local users on the Client\Server that we are currently logged into. Need more information then target a specific user..
C:\TechnicalFellow.com>net user david
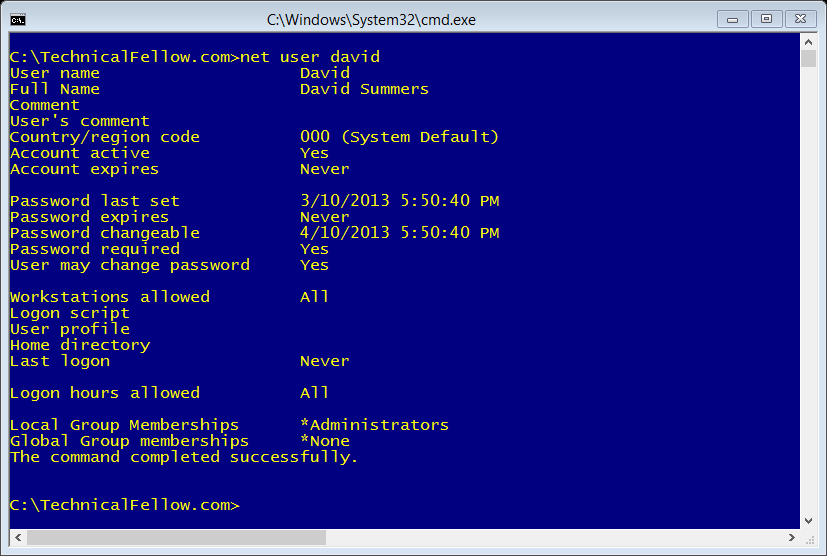
So we get a fair amount of information here including account status and group membership. What if we need this information for all users of the machine, we would need to iterate through the results of the first command and execute a detailed query. If there are thousands of local users then that would be a hassle and frankly sys admins don’t like hard work, this is what computers are for right? So we combine another native windows command the almighty “FOR”
C:\TechnicalFellow.com>for /f %a in (‘net user’) do net user %a
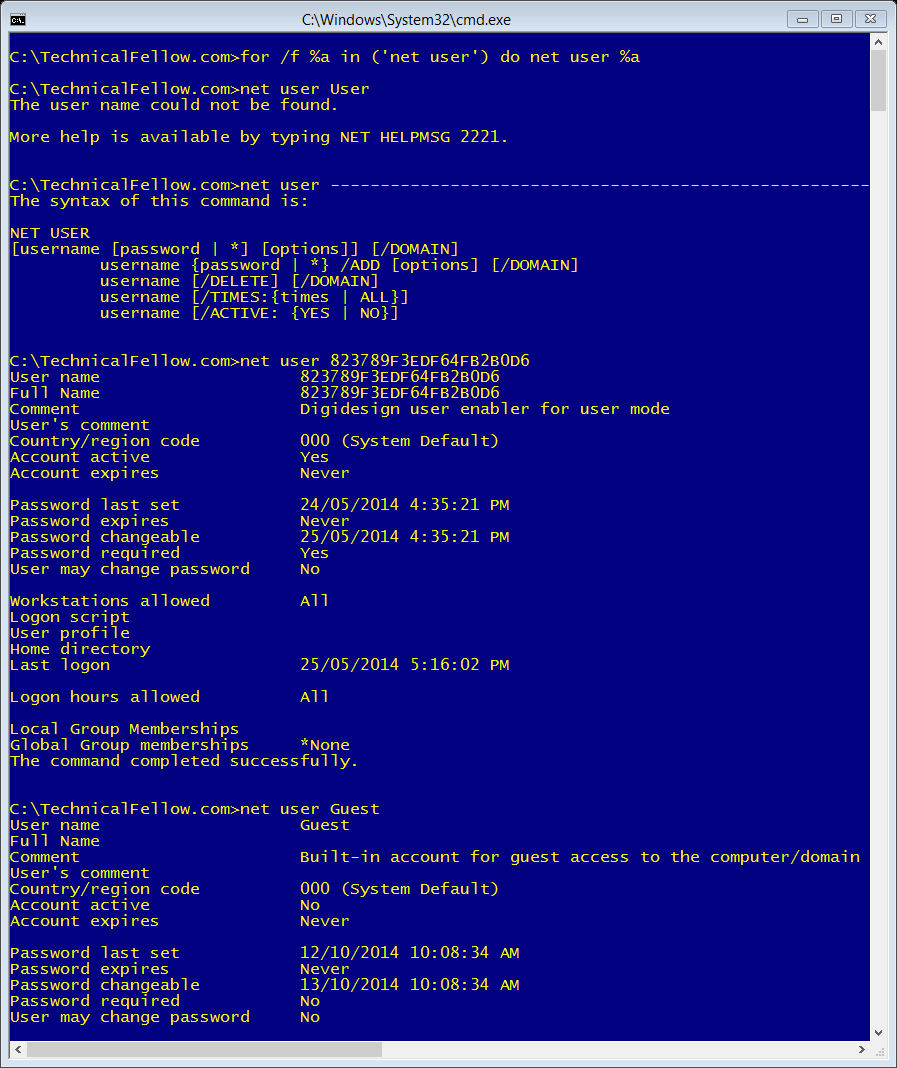
So we are getting a bit smarter now. But the keen eye will detect a few errors on execution. Basically the for command will iterate through the output of a net user (in this instance using the space as a delimiter. What was actually executed using this logic?
C:\TechnicalFellow.com>net user ——————————————————————————-
C:\TechnicalFellow.com>net user 823789F3EDF64FB2B0D6
C:\TechnicalFellow.com>net user Guest
C:\TechnicalFellow.com>net user The
Um, what about the Administrator and David account? to be honest, as much as I love the for command it does require a bit of effort to get the results we need. We could first export the results of the net user command to a text file (C:\TechnicalFellow.com>net user > C:\TechnicalFellow.com\MyLocalUsers.txt) so that we have the results as below
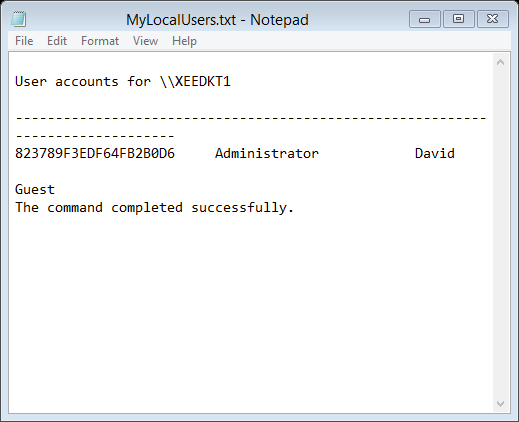
After cleaning up the results file then we have an import file that the for command really likes (1 line input entries in a flat list with no spaces)

Run the following this time taking the MyLocalUsers.txt file as the input method instead of the raw results of the net user command.
C:\TechnicalFellow.com>for /f %a in (C:\TechnicalFellow.com\MyLocalUsers.txt) do net user %a

Niiiiiice! now we are cooking. We can also export this to a text file as per below (remember we are using a double >> to edit the output file, as for will overwrite the 1st iteration of the command without this)
C:\TechnicalFellow.com>for /f %a in (C:\TechnicalFellow.com\MyLocalUsers.txt) do net user %a >> C:\TechnicalFellow.com\AllUserDetails.txt

So now we have a flat list of users in a text file that we can now use for other stuff, but surely there is a more elegant way of performing the above without the extra effort? Well, of course, this time we can scrub the results of the net user command and remove the results that are not valid (using another native command findstr) and then tell the for command that we will be using 3 tokens from the results (as we know that the net user command returns a grid with 3 columns for the output)
C:\TechnicalFellow.com>for /f “tokens=1,2,3 delims= ” %a in (‘net user ^| findst r -iv [-] ^| findstr -iv “The command” ^| findstr -iv “User accounts”‘) do net user %a & net user %b & net user %c

To break down the command, we are using findstr to remove text from the result of the net user command that we do not want to parse (note the special use of the ^ symbol before the | as certain characters are reserved and cannot be used within a for command logic, so we have to escape them using the ^ symbol) we also tell for that we are expecting 3 columns of information from the net user command. Finally we instruct for to iterate through the results and get the details from the 1st, then 2nd and finally the 3rd column. Hard to believe this is technically a one liner.
Now we have some principles to work with, Remember that the output from net user is just a string of text, not particularly formatted very well either. These same principles can also be applied to pulling out information on groups as well. But, what if you want to work against AD? simply add the /DOMAIN switch to the net user command and then you are in business. (For any of the above examples, simply append /DOMAIN to the end of net user, or to work against group replace net user with net group)
C:\TechnicalFellow.com>for /f “tokens=1,2,3 delims= ” %a in (‘net user /domain ^| findstr -iv [-] ^| findstr -iv “The command” ^| findstr -iv “User accounts”‘) do net user /domain %a & net user /domain %b & net user /domain %c
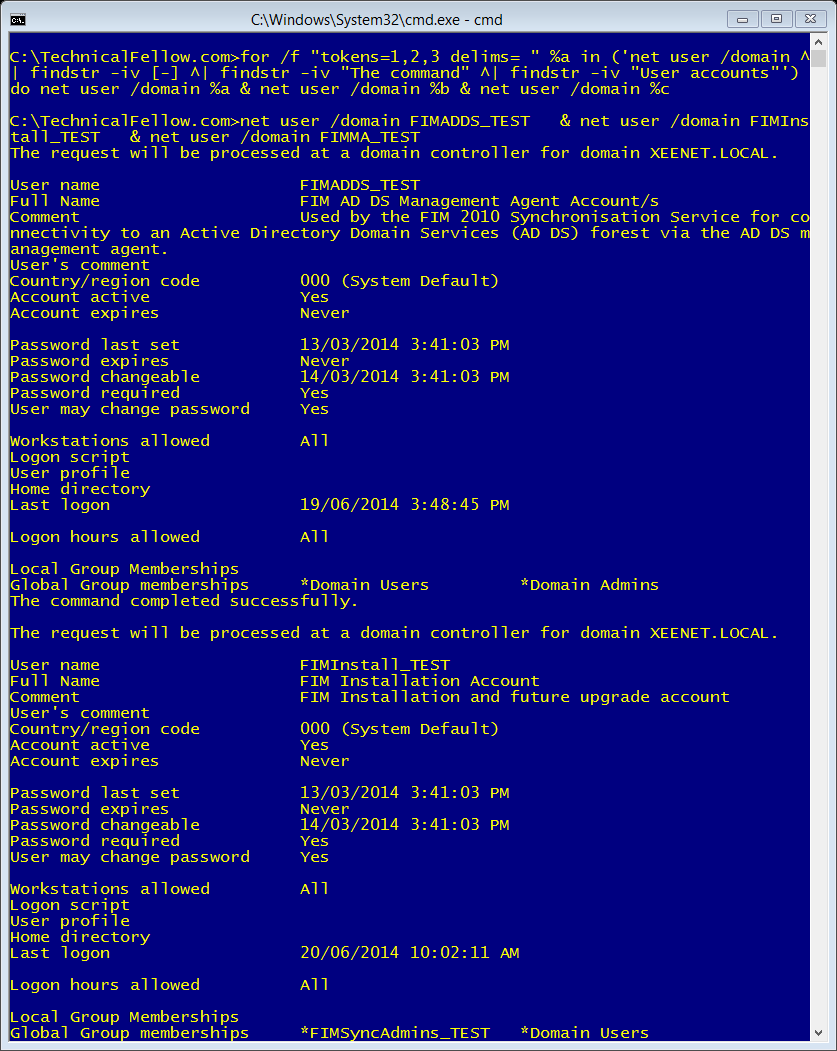
So why go to all of this effort to retrieve user information? well if you are after something basic and you have no access to tools such as AD Users and computers or powershell, then these methods will work for you in any environment. As the net user command is native to all versions of Windows and can be used from anywhere and you do not need admin credentials to query user accounts (assuming default AD permissions exist)
CAUTIONARY NOTE: Be very carefull with what you enter after the net user command against a particular user, as this command will retrieve information when no parameters are defined i.e net user David – but if I run net user David somerandomtextstring and my account has permissions to the David account, then I will actually set the password of the David account to somerandomtextstring
Next up in the series, we stay within the CMD, but branch out into a set of commands introduced in 2003 Server and Windows XP “Directory Services Query”

One thought on “Finding Users – Part One”